
I often take screenshots for my blog post. As for Mac, we can use default screenshot tool using “Cmd + Shift + 3″(See Apple Support page)。
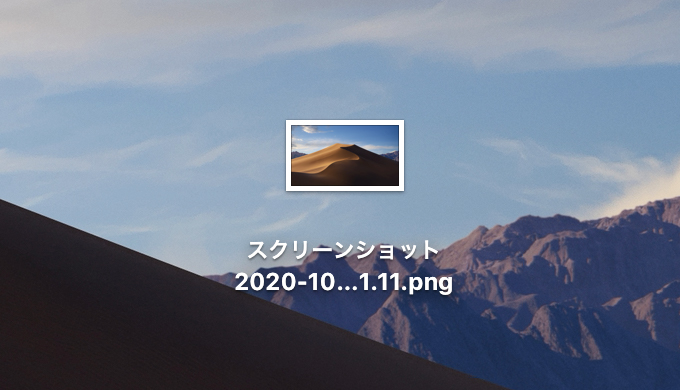
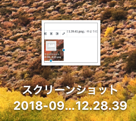
However, the files are saved on desktop and the name is too long such as “Screenshot 2018-09-12 12.28.39.png”.
Of course, we can change the name “screenshot” with the following command;
> defaults write com.apple.screencapture name "(new name)"
> killall SystemUIServer
We can also change the location of saved file with the following command;
> defaults write com.apple.screencapture location "(new location)"
> killall SystemUIServer
However, I want to customize the location and the name more flexible such as “20180912013941.png” (I don’t need hyphen, dot, and space).
I realized it using “screencapture” command and Automator.
目次
screencapture command
We can take screenshot using the command “screencapture” in terminal. You can see the help with the following command.
> screencapture -hYou can take screenshot with “screencapture -option filename”.
The options I needed are
- i : interactive mode (the same as “Cmd + Ctrl + 4”)
- o : no shadow of the window
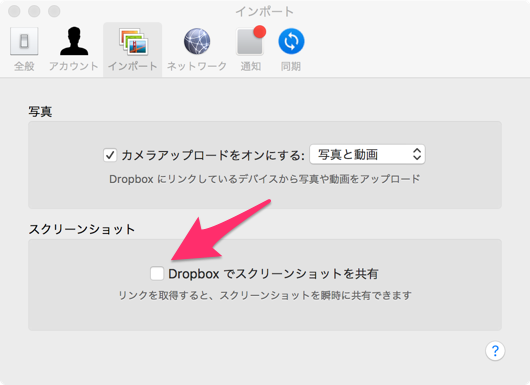
The filename is realized by “/path-to-dir/$(date +%Y%m%d%H%M%S)”. For example, I want to save the file to the “Screenshots” directory in Dropbox. So, I write “/Users/ky/Dropbox/Screenshots/$( date +%Y%m%d%H%M%S) ”. The important thing is you should untick “share screenshot of Dropbox”. If you didn’t, you would have a bad influence; ex. the file name was not changed, etc.
For Retina – change the size of picture into half (sips)
The display of MacBook Pro is Retina, and I use it with the default resolution. So, the size of the captured image is twice. It’s too large for blog. So the half size is the best. We can change the size with “sips” command.
Get the size of captured image
You can get the width [px] with the following command:
> sips -g pixelWidth (filname)Change the size of image
You can change the size of image with the following command:
> sips --resampleWidth (width[px]) (filename)Change the size into 1/2 using the upper 2 commands
You can change the size into 1/2 using the following command:
fname="/Users/ky/Dropbox/Screenshots/"$(date +%Y%m%d%H%M%S)".png"
screencapture -io $fname
sips --resampleWidth $(sips -g pixelWidth $fname | sed 1d | awk '{x=$2;x=x/2;print x}') $fname
As for the line 3, when you run “sips -g pixcelWidth $fname”, you get the following output:
> sips -g pixelWidth 20180912145326.png
/Users/ky/Dropbox/Screenshots/20180912145326.png
  pixelWidth: 530
We don’t need the first line and delete it with “sed 1d” command. We get the width value “530” with “awk ‘{x=$2;x=x/2;print x}’” command, divide it by 2, and output the value. The value is given to the argument of “sips –resampleWidth”. Finally, the size of image is changed into 1/2. (Please let me know the better way.)
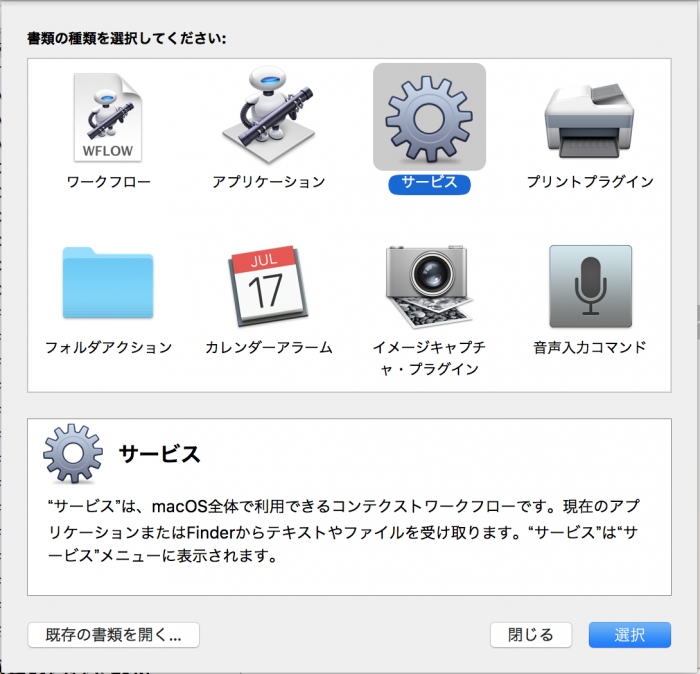
Automator
Make the service with Automator, and assign it to the shortcut key.
Run Automator, and choose “Service”.
- Select “Utilities”→”Run Shell Script” and drag and drop to the right side.
- Choose “no input” for Service receives.
- Write down the upper script in “Run Shell Script”
- Try it with the upper right button “Run”. If success, save the service with the appropriate name. I save it as “MyScreenshotForRetina”.

Assign it to shortcut key
You can find your service by “Preference -> keyboard -> shortcut -> services”.
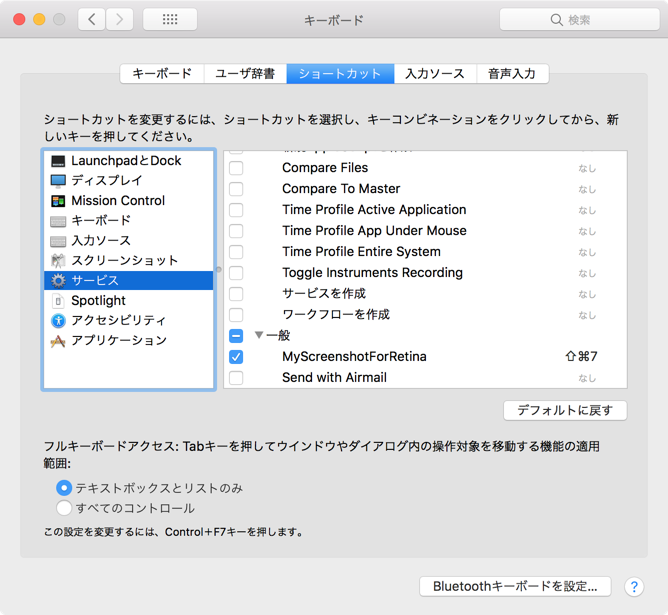
You can assing the favorite shortcut key. I assign “Cmd + Shift + 7”.
(“Cmd + Shift + 5” is used for Skitch, and “Cmd + Shift + 6” is used for Touch bar.)
Summary
I summarize the way to customize screenshot on Mac. No window screenshot (Cmd + Shift + 4 (+ Space)) in Skitch, and we input the filename for each time. And, I don’t use Skitch every time. So the default screenshot is the most convenient, I think.
Appendix
Make service “open the saved image by Skitch”
In the upper service “MyScreenshotForRetina”, we can capture image and save it with any filename and location. Here, I make the service to open the file with Skitch.
We can run Skitch with the following command in terminal:
> /Applications/Skitch.app/Contents/MacOS/SkitchYou can open an image file, if you give the filename as an argument:
> /Applications/Skitch.app/Contents/MacOS/Skitch (filepath)So, we can realize it if we write down the following script to Automator.
fname="/Users/ky/Dropbox/Screenshots/"$(date +%Y%m%d%H%M%S)".png"
screencapture -io $fname
sips --resampleWidth $(sips -g pixelWidth $fname | sed 1d | awk '{x=$2;x=x/2;print x}') $fname
/Applications/Skitch.app/Contents/MacOS/Skitch $fname
However, it has one problem. If you execute Skitch in terminal, the upper service is not finished if you just close the window. You should quit Skitch. If you don’t quit Skitch, many Skitch will run every time you use the service. The service is not finished and it is not good. Every time you should quit Skitch with “Cmd + Q”.